
For many living off-grid, the pursuit of building a more self-sustainable lifestyle is a constant goal. Off-grid soap making not only provides much-needed supplies for the homestead, it also provides a creative outlet for the homestead soapmaker!
First Things First: Lye Safety
Saponification is a chemical reaction in which fats and oils are combined with a lye solution to create soap. Historically, lye was created when water was mixed with wood ashes. While you can still make lye yourself from cold hardwood ashes and rainwater, the resulting lye is unpredictable.
Commercial lye, also known as sodium hydroxide, is widely available in hardware stores. It is inexpensive and more dependable for modern homesteaders.
Working with lye is one of the most intimidating aspects of soap making. While sodium hydroxide is a caustic substance that can cause severe burns, educating yourself about safe lye-handling practices will help put your mind at ease as you begin your soap-making journey. Soap makers should always dress for success: wear long sleeves, long pants, and shoes when making soap.
From the time you open the lye container until the dishes are washed, use additional safety equipment. Wear goggles to protect your eyes and rubber gloves to protect your hands. Always work in a well-ventilated area. It’s best to keep animals and children out of the soap-making area. With lye safety education and these basic safety guidelines, I found that soap-making wasn’t so intimidating after all!

Techniques for the Off-Grid Soap Maker
There are multiple methods of soap making; hot-processed and cold-processed soap making are the most common.
Cold-processed soap-making is one of the most popular soap-making techniques, especially for beginners. Hot processed soap making is certainly an option for the off-grid soapmaker, however, it may be more difficult depending on your electrical limitations. Hot processed soap is commonly made in a crockpot. While it can be made on a stove, even a wood stove, it’s easy to burn the soap.
My personal preference is the cold-processed soap-making method. This method allows the greatest flexibility in using fresh ingredients from the homestead.
Homestead Soap-Making Ingredients
One of the most exciting aspects of soap-making for homesteaders is the ability to source your own soap-making ingredients. Animal fats like lard and tallow were traditional fats used to make homemade soap. Both are easy to render at home.
While you might immediately think about lard and beef tallow raised on the homestead, think outside of the box. Chicken, duck, and goose fat are called schmaltz. While these fats are generally found in smaller quantities, they can be rendered and used in soap making. Don’t forget about wild fats: deer fat and bear fat can also be rendered for soap making.
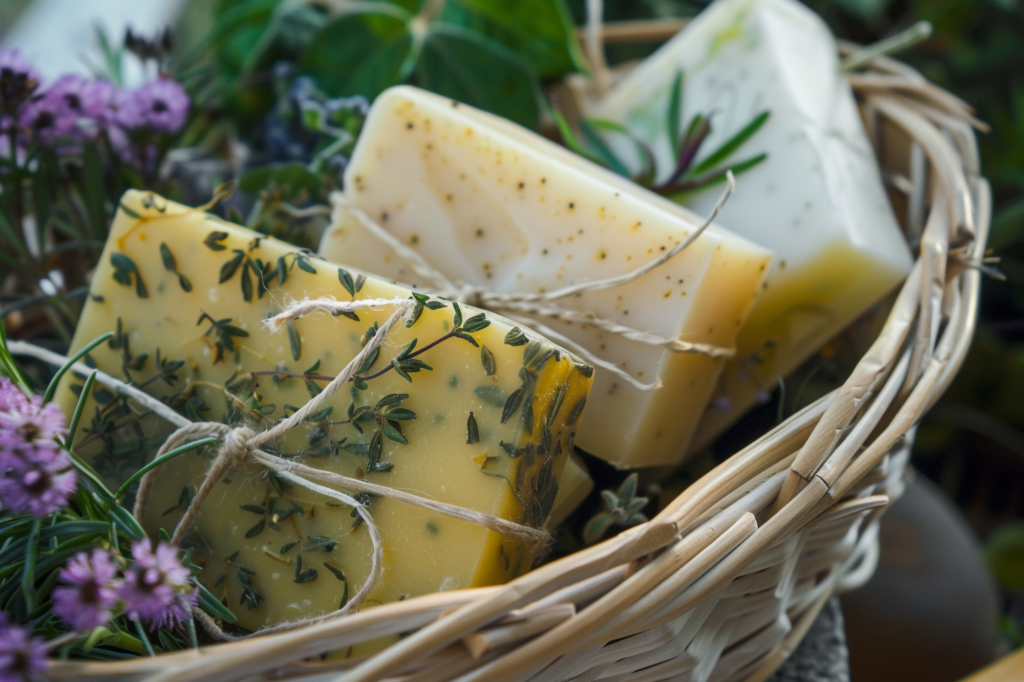
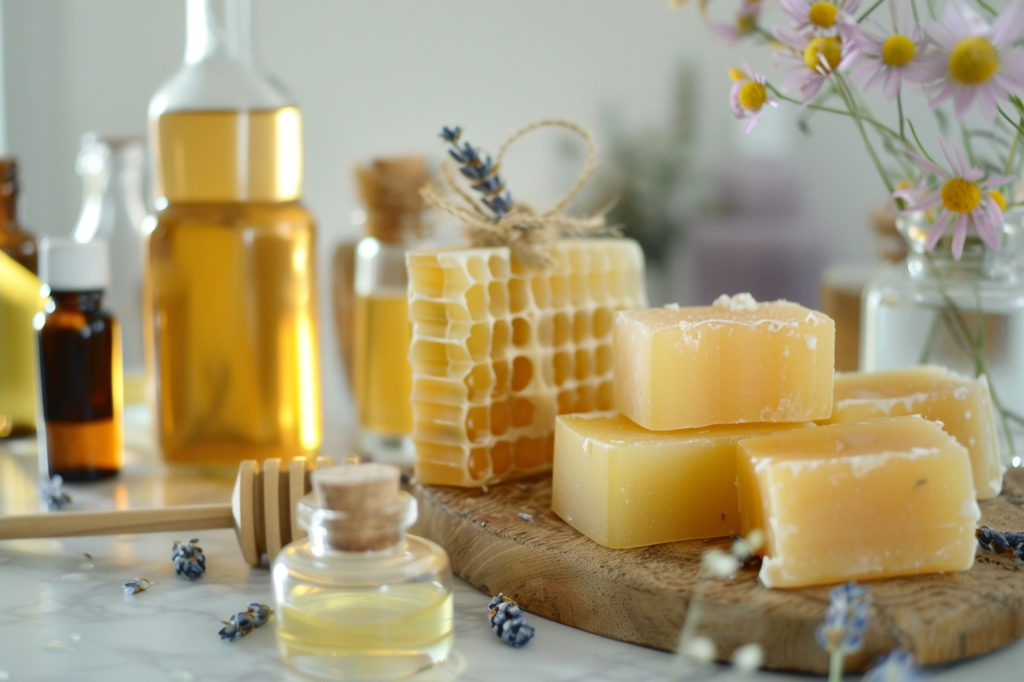
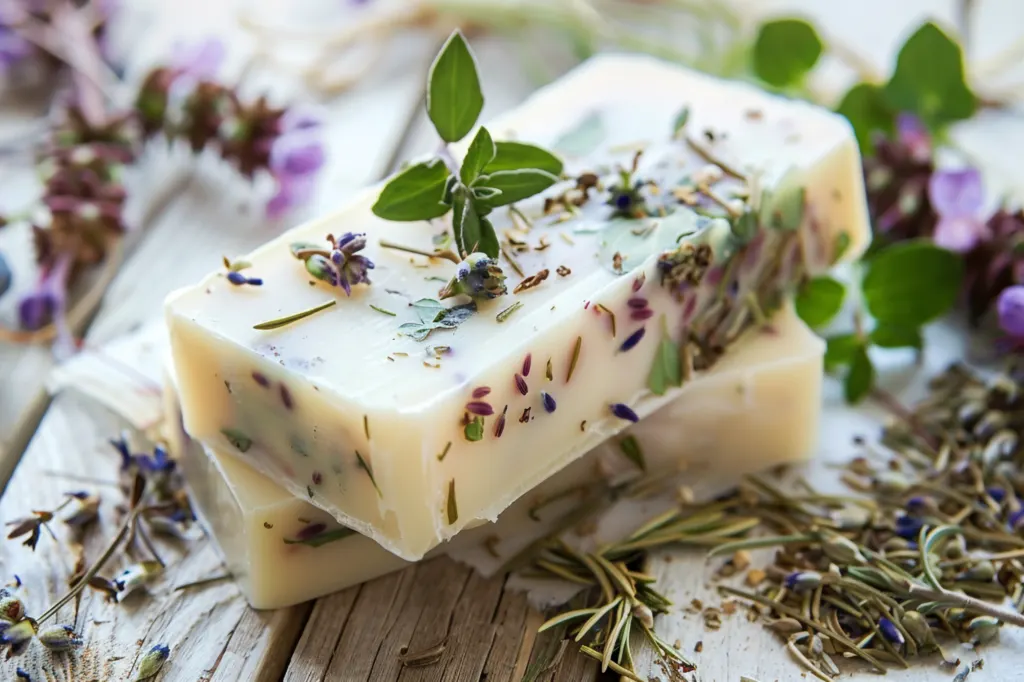
Homestead fats are just the beginning! Beeswax, honey, and even lanolin are natural ingredients used in soapmaking. Herbs, seeds, and grains such as oatmeal can add exfoliating properties to homemade soap. Even fruit purees can be used to add color and variety. Dried flower petals are commonly added for eye appeal, especially for those who may be marketing their natural homemade soap at the farmer’s market.
Let’s not forget about milk! Milk is a wonderful addition to the homestead soapmaker’s pantry. Goat’s milk is well known and highly sought after as a base for creating nourishing soap. Cow’s milk and especially sheep’s milk are also excellent milks used in your soap base.
The Benefits of Essential Oils in Soap
Adding fragrance to your soap is completely optional. I prefer to use pure essential oils rather than synthetic fragrance oils since I want to create soap from natural ingredients. While I love the refreshing aroma in the shower, the benefits of adding essential oils are more than simply aromatherapy.
In our nearby Amish community, the Amish add citronella to their soap to help with insect bites. I took this to the next level, creating a proven essential oil blend that helps combat ticks and turkey mites.

Challenges when Making Natural Soap
As a word of caution, some natural ingredients will need to be handled with care during the soap-making process. Milk should be frozen in an ice cube tray before use in soapmaking to prevent burning the milk. Honey can accelerate trace, causing your soap to thicken too quickly, making it hard to work with. Fruit purees add extra water to the soap recipe and can alter the lye-to-fat ratios. While the sky is the limit when it comes to off grid soap making, do your due diligence when adding natural products to your soap.
Equipment Needed to Make Homemade Soap
Well, now that I have you excited about the infinite possibilities of making handmade soap, let’s talk about equipment. First, your equipment needs to be dedicated to soapmaking. Things like essential oils and lye can contaminate your equipment.
As much as it pains me to need two stick blenders, I have two. I can’t risk contaminating my cooking with traces of lye stuck in the undersides of the blades despite my diligent efforts to thoroughly clean my soaping equipment. Thankfully, soapmaking doesn’t require a lot of sophisticated equipment and it can be adapted to meet the needs of your off-grid lifestyle.
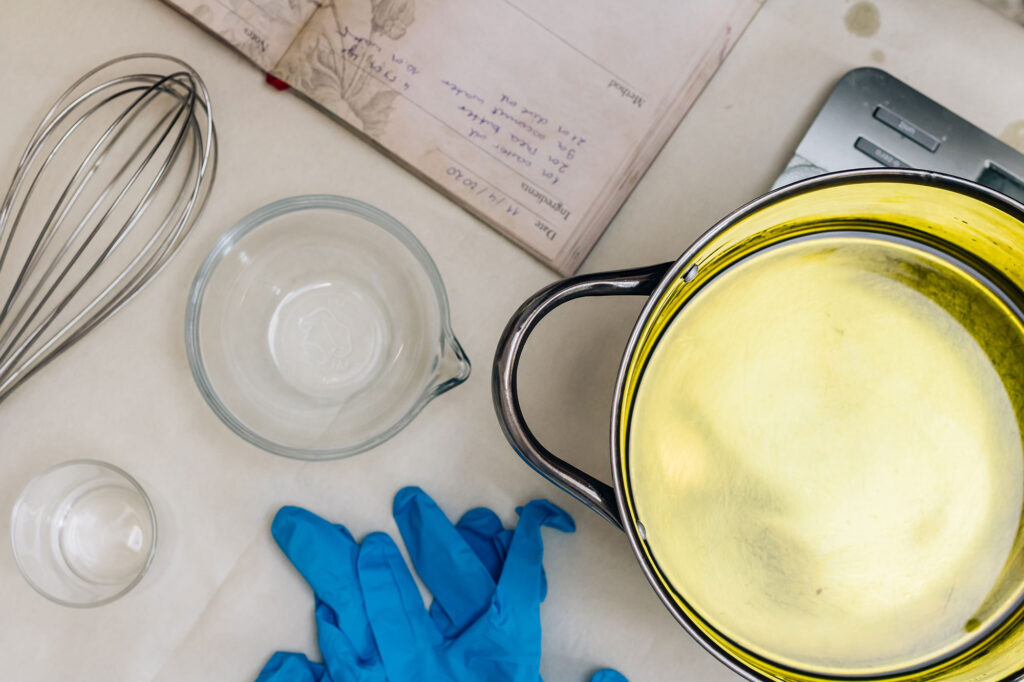
The Basics
- Safety equipment: rubber gloves, goggles, appropriate clothing.
- Scale. Digital is best, choose one that allows you to measure in grams or ounces.
- Mixing bowls or large pot: Stainless steel is best, however, plastic bowls are fine. NEVER use glass. Lye can heat up to about 200° during saponification. I prefer to use two bowls. One I use to measure and melt my oils, and the other is used for the lye base.
- Additional small containers for measuring extra ingredients. I used sacrificed mason jars. I have one dedicated to measuring lye and another for essential oils. Consider any other additives you may like to use.
- Soap mold. While I have silicone molds for soapmaking, almost anything will work. Many people make soap in wooden molds lined with parchment paper. Others use things like Pringles cans and quart-sized half-and-half cartons. Choose something that you can easily remove the finished soap.
- Stirring equipment. I use a combination of rubber spatulas and a stick blender. If you are limited by your electrical power, you can use a whisk instead. Plan on stirring much longer to achieve the same results as a stick blender.
- Thermometer. A thermometer is used to monitor the temperatures of the oils and lye mixture. An infrared thermometer makes soapmaking so easy, but a regular thermometer works too.

Proven Soap Recipes
As a new soapmaker, it’s best to use recipes developed by experienced soapmakers. Since it can be hard to know for sure, it’s best to run a new soap recipe through a soap calculator first to make sure it’s well-developed and doesn’t exceed the capacity of your mold. I’m sure you’ve tried food recipes you found online that didn’t turn out as expected, and soap recipes can be the same. Depending on the material used, it can be an expensive loss.
Soap making is science; the exact amount of water, lye, and fats are needed to saponify to create soap. Each fat has a different saponification value. An SAP value is the amount of lye needed to transform the fat into true soap. Soap calculators do all the math for you!
Additionally, soap calculators evaluate the quality of the soap. While a basic soap recipe made with 100% lard or tallow was common practice, the cleansing properties of both of these soaps can be improved by adding additional liquid oils. Qualities like conditioning, creaminess, and even bubbliness all change based on the fats and oils used in your soap mixture.
Basic Soaping Process
Before starting to make soap, gather your supplies in a well-ventilated area. Some aspects of soap making are time and temperature-sensitive, you don’t want to be caught unprepared. If you are using milk, be sure you have frozen the milk before soap making. If you are using any additives such as exfoliants, herbs, fragrances, or essential oils, you will want to measure them in advance.
Measure and melt your solid oils. I prefer using a double boiler on the stove. I find it works better not to overheat the oils. A fancy double boiler is not necessary, simply place your stainless steel bowl in a larger pot of water to achieve the same results. Measure any additional oils, and add them to the melted solid oils. Keep in mind, that accurately measuring your oils is important. It’s necessary to maintain the lye-to-oil ratio to achieve saponification.
Creating the Lye Base
Measure the soap base into a heat-safe bowl, NEVER glass. Many use distilled water for the soap base. I prefer using frozen milk cubes. Once ready, it’s time to glove up! Before measuring the lye, put on your rubber gloves and goggles.
When mixing the lye into the soap base, always add the lye to the base. Never the base to the lye. When working with water, you can add the lye all at once, however when working with milk or other sugar-rich bases, always add the lye in small batches. Adding too much lye all at once can scorch the milk. Stir until mostly dissolved, then add more. Keeping the bowl in an ice bath also helps prevent burning the milk. Remember, adding the lye to the base is creating a chemical reaction. The mixture can heat up to 200°!
Once all the lye is added, stir until completely dissolved. This can be more difficult when using milk, as you can’t see the lye. Stir longer than you think necessary. Look for signs of undissolved lye on the spatula or sides of the bowl.
Once your lye is completely dissolved in the base, check the temperatures of the lye base and the oils. Soapmakers soap at different temperatures depending on the technique. The ideal temperature when using milk is between 75° to 80°. The lye base and the oils should be no more than 10 to 15 degrees different in temperature.

The Magic of Saponification
Once your temperatures are appropriate. It’s time to add the lye base to the oils. This is where the magic of saponification is going to take place. When the lye base and oils begin to emulsify into soap, soapers refer to the thickness of the soap mixture as trace. The desired trace depends on your end goal and soap-making technique.
Light trace looks like cake batter, while medium trace resembles a thick pudding. There will be no sign of separated oils when the soap begins to come to trace. To check the trace of your soap batter, use your spatula to drizzle soap on the top of the soap base. If the trailings hold their shape you have achieved medium trace.
When you begin, pour the lye base into the oils all at once and begin stirring. If you are using a stick blender, be sure to “burp” it. Tap it on the bottom of the bowl to allow any air bubbles to escape. I use a combination of stirring with the spatula and the stick blender. If electricity is limited, you can use a whisk instead of a stick blender if needed. Stir until you reach the desired trace.
Finishing the Soap
If you are adding any essential oils for fragrance or additives, add them now. Be aware that essential oils can accelerate trace so be ready to work quickly. Once ready, pour the soap into the mold. You can add shape to the top or add any decorative touches. Spray the soap lightly with alcohol. This helps prevent soda ash. While soda ash won’t hurt you, it’s not pretty.
Your next step will depend on your goals. The soap will continue to heat up as the saponification process continues. Some soapmakers insulate their soap by placing it into a warm oven or a cooler. This encourages the soap to complete what is called gel phase. Other soapers prefer to prevent the gel phase either due to technique or the ingredients included. Since I soap with milk, I usually put my soap in the freezer and then refrigerator to prevent gel phase.
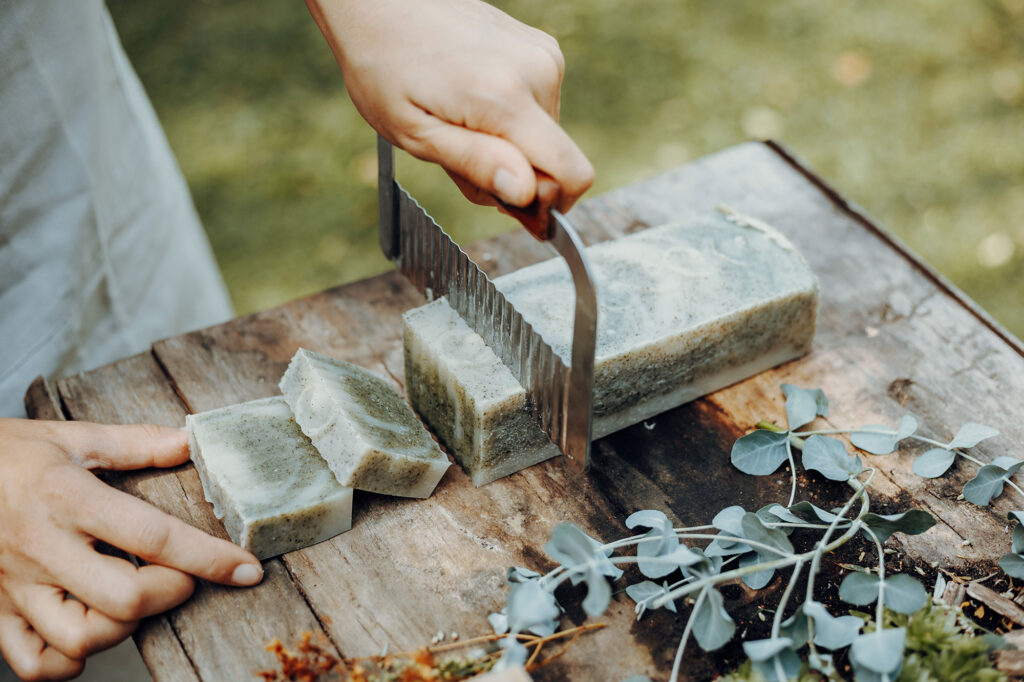
Once the soap has cooled, remove the soap from the mold and cut it into bar soap. Soaps made with tallow may need to be cut within hours of soapmaking, while other soaps need to cure longer to be solid enough to cut.
Once cut into bars, cold-processed soap will need to cure for 4 to 6 weeks. Place it in a safe place away from children and animals. The bars of soap should be spaced to allow air to flow around them so they can dry.

Off Grid Soap Making
Making soap for our family has been so much more rewarding than I ever imagined. Since beginning my soap-making journey, I have given up all the commercial soaps, body wash, and facial cleansers that used to clutter our shower.
Nourishing goat milk soaps have simplified my cleansing routine and save money on the multitude of products I have given up. I can rest easy knowing that the ingredients in my soap are not harmful to my skin or my body. Plus, I enjoy making it! I continue to experiment with soap bases, natural colorants, and essential oil blends, perfecting my craft!
***
Barbra-Sue Kowalski grew up on a small hobby farm. She was always drawn to farm life; however, she was stuck in an urban life far from her roots. Barbra-Sue was a single mom for 13 years, raising her 3 children on her own. She met Philip Kowalski in 2018 and they married in 2021. Between the two of them, they have 5 grown children and 5 grandchildren. These empty nesters are following their dreams! As they both turn 50, they are building their 68-acre off-grid homestead in Western Kentucky.