Why start a fruit garden? Is it worth the time and effort? Well, if you’ve never tasted garden-fresh fruit (unfortunately, very few people have!), you will be blown away by the sweet, unique, and vibrant textures. There’s nothing quite comparable to fresh fruits, especially if you grow them yourself. Not only this, but it’s been proven that gardening boosts your overall health and happiness.
Tools needed for your fruit garden
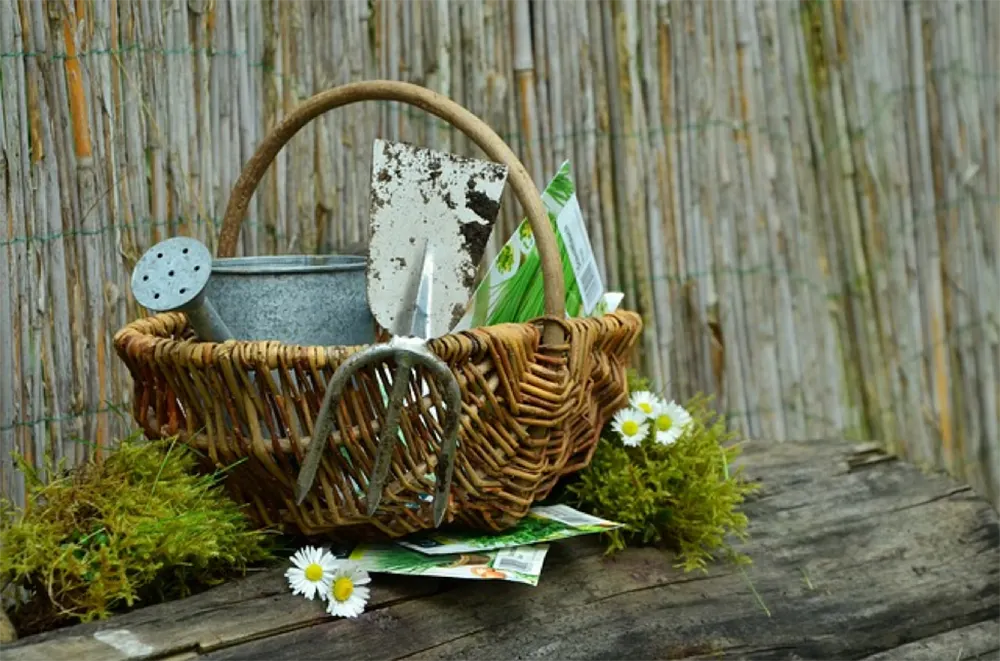
Proper, high-quality gardening tools make the task a lot less strenuous. For your first fruit garden, only go for the tools needed for your gardening requirements. It’s easy to get carried away and think that you’ll need every piece of equipment out there, but here are a few key essentials you’ll need to get started:
- Trowel: used for digging small holes and weeding.
- Spade or Shovel: Useful for digging and turning earth, particularly in larger spaces.
- Shears: Ideal for trimming trees into shape and pruning hard-to-reach branches.
- Gardening Gloves: A good pair of gloves can protect your hands from prickly plants and weeds as well as bugs.
- Watering Can/Hose: This will vary with your specific needs and proximity to your water source.
- Wheelbarrow: if you have a larger garden, you’ll need one to transport dirt, mulch, and compost.
- Rake: Ideal for spreading compost and gathering debris that has collected between plants and around your garden.
Step # 1: Plan Your Layout Carefully
It goes without saying that plenty of nutrients, good soil, and adequate water are essential to the success of a fruit garden, but a successful garden starts with a plan.
With some careful planning, you can turn your fruit garden into a worthy investment.
Mark out fences and boundaries, and work out how many plants will fit into the space you’ve designated for the fruit garden.
Cramming up as many trees and fruit bushes into your garden as possible will only lead to overcrowding, resulting in poor growth and yield.
Step # 2: Prepare Your Garden
When choosing the perfect spot for your garden, think about the soil and study the terrain.
Most average soils are good enough for successful fruit growing, but you’ll want to consider adding some organic matter such as compost for better yield.
Avoid waterlogged soils or wet areas as they’re rarely good for growing fruit. Similarly, a very dry garden is not ideal unless you install irrigation.
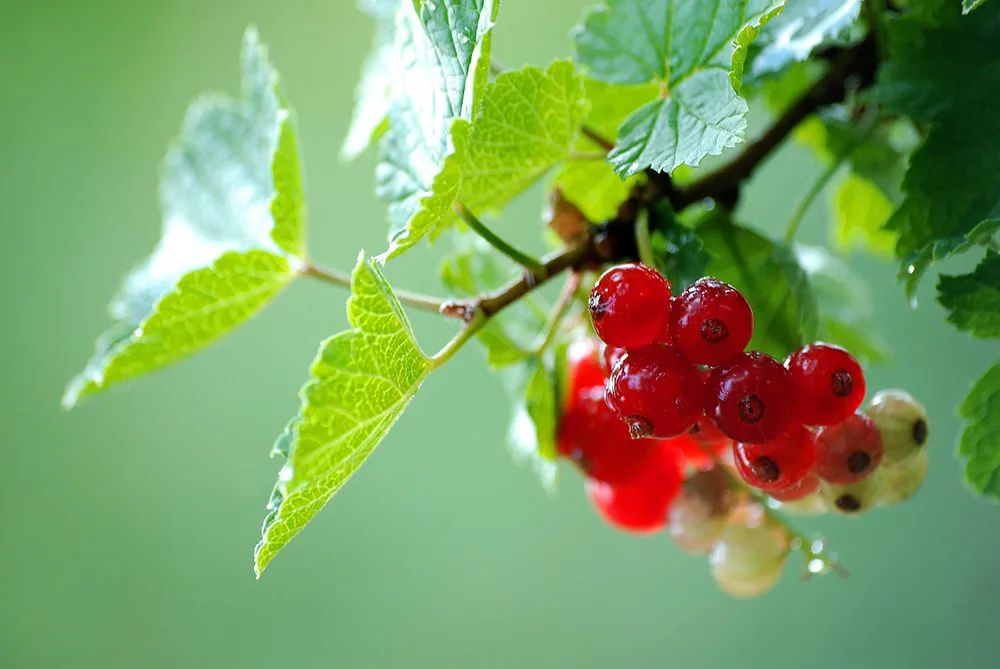
Most fruit will grow best in a sunny, sheltered spot, although others such as currants will thrive in shaded areas.
Super Tip: Choose a spot that’s sheltered away from cold winds to ensure the plants flower well, are pollinated, and bear fruit successfully. Take advantage of protection by fences or walls or grow a hedge as a boundary or screen against strong winds.
Step # 3: Decide Which Fruits to Grow
Deciding which fruits to grow will depend on what you love, which fruits will fit in the size of your garden, and which plants will thrive in your area.
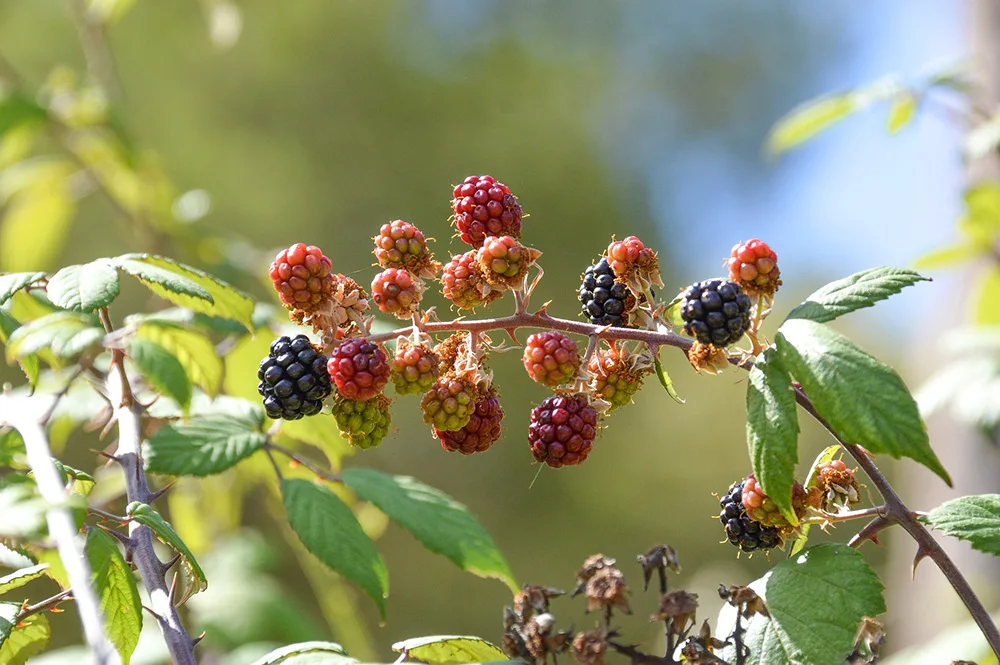
Nonetheless, it makes sense to make the most of your garden when deciding what to grow. For instance, you can grow cherries, blackberries, and rhubarb on the shady side of the plot and leave the sunny side for other tree fruits such as blueberries and raspberries. Try to make the most of space by growing a range of tree forms.
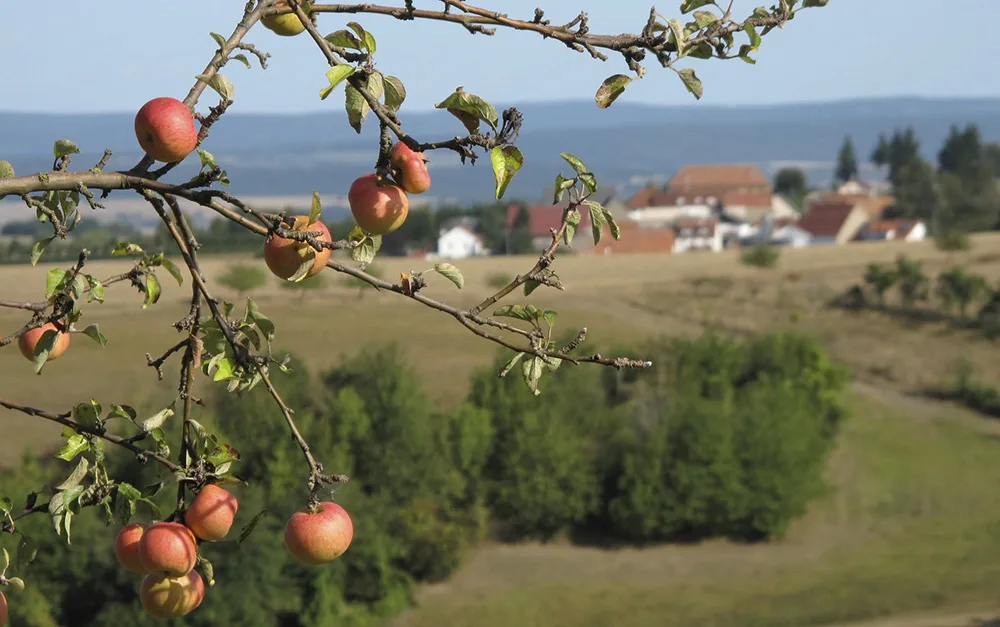
Whatever the size of your garden, apples, and pears are both delicious fruits worth growing.

Super Tip: Pay attention to pollination requirements, soil acidity, and soil moisture levels that are suitable for the types of fruits you choose. For instance, plums are pretty resilient and can cope with some frost whereas cherries are not a good choice for exposed gardens or colder areas.
Step # 4: You’re Ready to Grow
Once you have everything in place and have prepared your soil and purchased your seeds or plants, the next step is planting. You’ll want to ensure your fruits get adequate water and sunshine as they grow.
Since different plants have varying lighting needs, you can sow plants that need less sun in the late summer or early spring when the sun is less vibrant. When choosing which fruits to plant where, remember to place taller plants strategically to prevent shadows from forming and inhibiting the growth of shorter plants.
After your seedling or seeds are in the soil, you can use additional mulch to help control weeds, improve water retention, and keep the plant roots cool in hot weather.
If rainfall is not providing enough water and you start to notice a plant’s leaves, flowers, fruits, or buds start to droop or brown, increase the supply of water. However, be careful not to overwater.
Fruits such as melons will thrive when they receive more water while others such as tomatoes will not do so well in waterlogged soil. Dedicate yourself to weeding and watering and your efforts will bear fruit (pun intended).
Step # 5: Keep A Calendar/Journal
Having a garden calendar/journal can work wonders. You can use it to schedule every simple task from sowing to transplanting and harvesting.
Make a few notes on the calendar about when you start planting and finish harvesting, weather conditions, and other significant events. A calendar helps remind you to do things on time and is also useful when planning your plantings for the next season.
Step # 6: Relax and Be Flexible
Since it’s your first fruit garden, it always helps to start small and begin with fruits that are easy to manage. You want to avoid a situation where the joy of a newfound hobby turns into a frustrating experience. After you get the hang of it, you can grow your garden and incorporate as many fruits as you like. There will be ups and downs but half the fun of gardening is in growing through the learning process.
With some dedication and resilience, you’ll see your precious new garden flourish. Did you find this step-by-step guide helpful? If so, feel free to share the article. I will also be happy to know what you have in mind regarding the topic. Let me know in the comments.
***
Alex is a firewood cutting fan and a chainsaw expert. He owns a ranch in Montana where he lives with his wife and son. He is a tech cowboy who enjoys writing his blog ElectroSawHQ.com.
