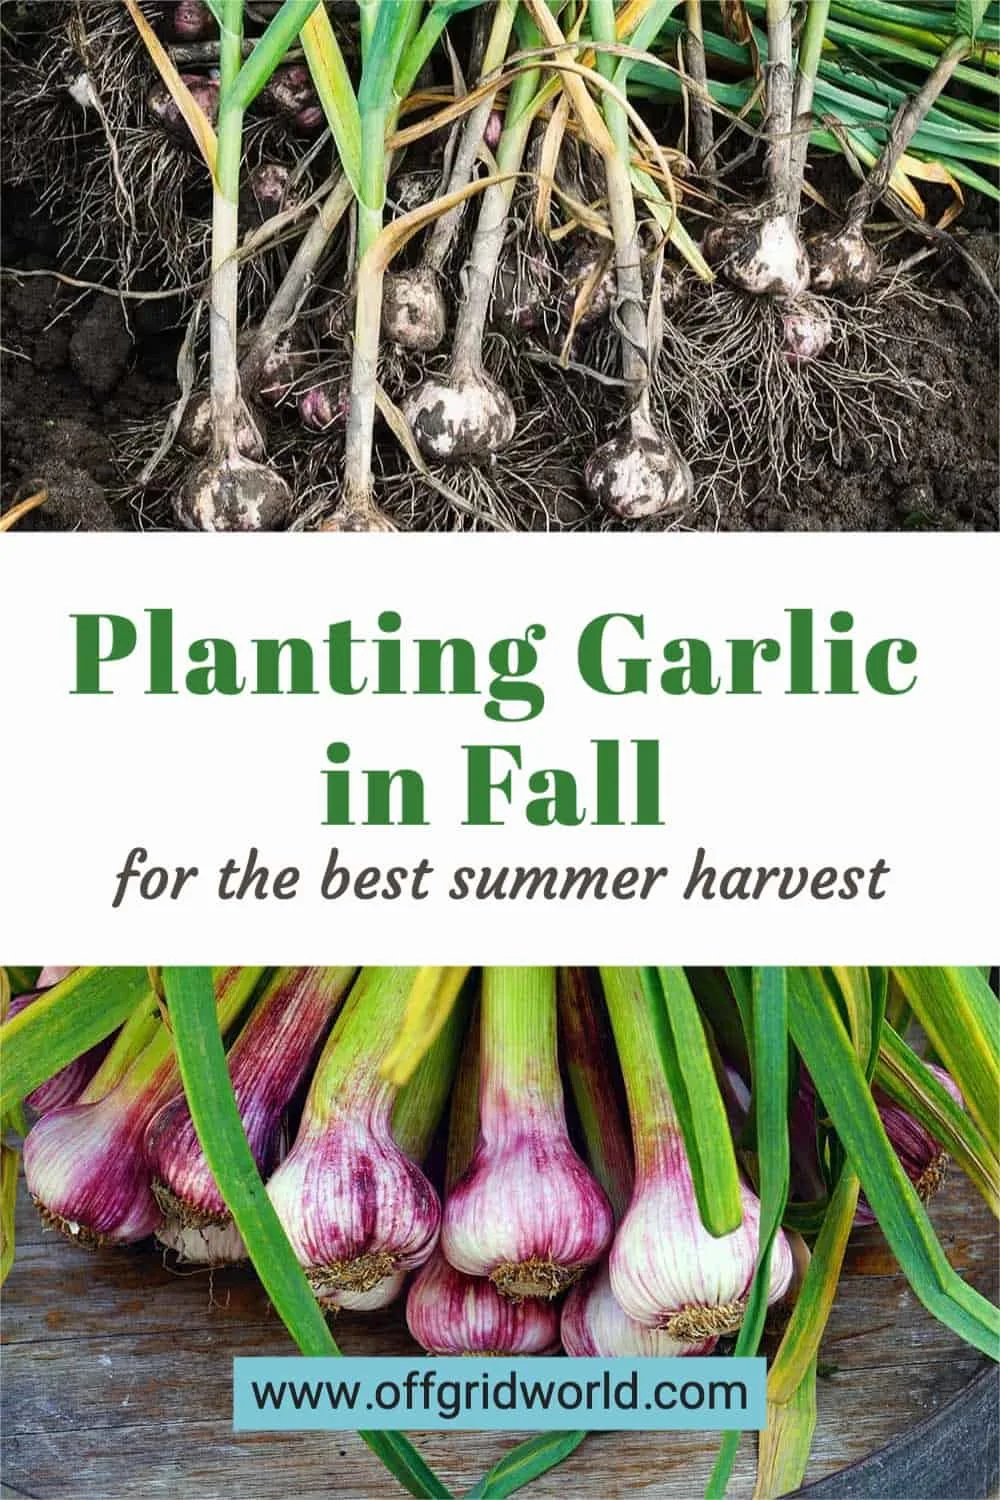
Garlic is one of the easiest crops to grow and is great for beginning gardeners. Planting garlic in the fall after the rest of the garden is done for the season is the best way to ensure success with this amazingly versatile crop!
Why plant garlic in the fall?
Garlic grows best when it has a cold period to mature. Like many other bulb plants, fall planting allows some extra time during cool fall months for plants to get a head start and ensure an earlier and larger harvest the following summer.
Roots begin to form on fall-planted garlic before the ground freezes, then the plants go dormant over winter.
Like other perennials in your garden, garlic will resume growing once the soil warms in spring. At this point, the bulbs are nicely established and the plants are ready to take off.
Spring planting garlic is possible if you miss the opportunity to plant in fall, but you won’t get the same result as fall-planted garlic. You’ll likely have to harvest spring-planted garlic before the bulbs mature. Also known as green garlic, these immature bulbs look similar to scallions and can be used the same way you’d use onions or leeks.
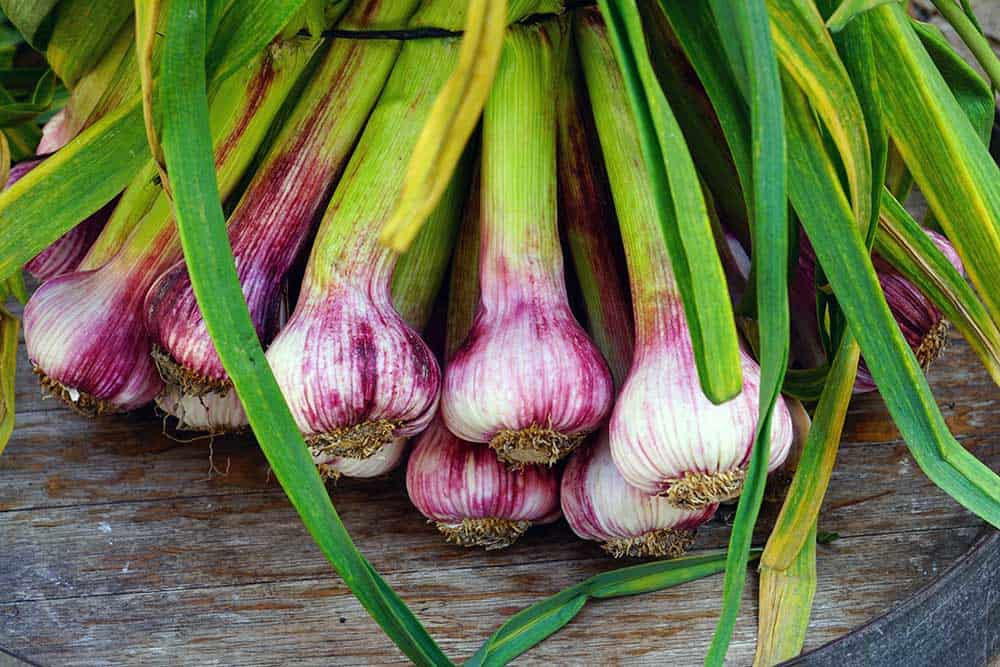

Young spring garlic at a farmer’s market. Image: eqroy/Adobe
When to plant
The best time to plant garlic is a few weeks before the soil freezes. Night temperatures should be cooling down during this time so the roots can start to develop without the plant going into full-on grow mode. (yes, that’s a technical term 😉 )
Freezing dates are different depending on the growing zone, but you will generally want to plant around mid-October.
New gardeners often confuse the first frost date in their growing zone with the date the ground freezes. You can have several fall frosts before the ground freezes, so it’s perfectly okay to plant garlic after the first frost (or several frosts).
Here in zone 4, we shoot for October planting as the ground is usually frozen by mid- to late-November. However, September temperatures can vary wildly from very hot to freezing cold, so I always keep an eye on long-term forecasts when determining the best planting time for fall bulbs.

Choosing which garlic to plant
There are many varieties of garlic, and they fall under two main types: hardneck and softneck. Both have unique characteristics you’ll want to consider. Which you choose will depend on your growing conditions and preferences.
Types of garlic: harneck or softneck?
Hardneck garlic is typically better for cold climates because it is hardier. It also peels easier than softneck and usually packs more flavor.
The cloves on hardneck garlic grow in a single row around a central woody stalk. This results in fewer cloves than you’d get from softneck garlic, but the cloves are larger.
Scapes are the flowering stems on hardneck garlic and can be harvested and eaten like chives.
Some popular hardneck garlic varieties:
- Spanish Roja
- Chesnok Red
- Russian Red
Softneck garlic stores better than hardneck varieties – around 9 months in the right storage conditions.
Softneck cloves grow in several layers around a soft stem, resulting in more cloves than hardneck varieties, but they are usually smaller.
Because of the soft stems, softneck garlic bulbs can be braided together for easy drying and storage.
Some popular softneck varieties:
- Italian Softneck
- Inchelium Red
- Transylvanian
Elephant garlic is not a true garlic, but a member of the onion family, more closely related to leeks. It is very popular for its large bulbs and delicious flavor. It is grown, harvested, and eaten similarly to garlic.

Though not a true garlic, elephant garlic produces very large and tasty bulbs. Image: Maksims/Adobe
For best results, you can try planting a few different garlic varieties at a time until you find what works best in your garden conditions and what you have a personal preference for.
You can never have too much garlic, so don’t be afraid to try as many varieties as your growing space will allow!
Where to find seed garlic
Seed catalogs are great for finding seed garlic in an abundance of varieties. This is my favorite way to shop for any of my garden seeds/bulbs because I like to nerd out on the history and different characteristics of each.
Local nurseries can be an excellent source for seed garlic as well, and they usually only stock varieties that will thrive in your area, so that’s a big bonus!
Joining local garden groups – in person or online – can prove invaluable when it comes to obtaining seeds of all kinds for your garden. Many gardeners are happy to give away seeds/seed garlic or sell them for cheap. They are also a great resource for learning which varieties have the best track record in your area.
When picking out seed garlic locally, look for the biggest and healthiest bulbs possible. Garlic will pass its traits down to its offspring, so planting cloves from nice, large bulbs increases the chance of sowing the same at harvest time.
Also, ensure the cloves you pick are still wrapped tightly in their papery skin, firm and mold-free.
What about grocery store garlic?
It can be fun to experiment with regrowing produce bought from the store, but it is not usually a good idea to plant store-bought garlic.
Unless you buy local, organic garlic, you really don’t know if it is a variety that will grow well in your area. And store-bought garlic is often treated with inhibitors to give it a longer shelf life, which will impede growth when planted.
If you can’t find good seed garlic on time to plant in the fall, grocery store garlic can be used, but might not give you the best results.

How to plant garlic
Choosing a location
Garlic plants do best in full sun, so try to find an area of your garden where your garlic bed will get 6-8 hours of sun exposure a day.
To avoid diseases, pest buildup, and nutrient deficiencies, crops in the same family should be rotated every year or two.
Garlic is in the allium (onion) family, so can safely be rotated with nightshades (tomatoes, peppers, etc.), brassicas (broccoli, kale, etc.), or anything except other alliums.
By late September in most areas, the majority of your other plants will be finished for the season and you can begin to prepare your garlic bed.
Preparing the soil
Most garden soil needs to be amended in order to grow the best possible crops. Adding compost and other organic matter is the easiest way to keep soil healthy.
Like all root crops, garlic likes loose, rich, well-drained soil.
If you are planting garlic in one of your existing garden beds after fall cleanup, work 1-2 inches of compost into the bed and apply a slow-release fertilizer according to the package directions.
If you are starting with a new garden bed or raised bed, ensure you start with a rich mix of high-quality soil and compost. Heavy soil will need more compost, not just for garlic but for most crops.
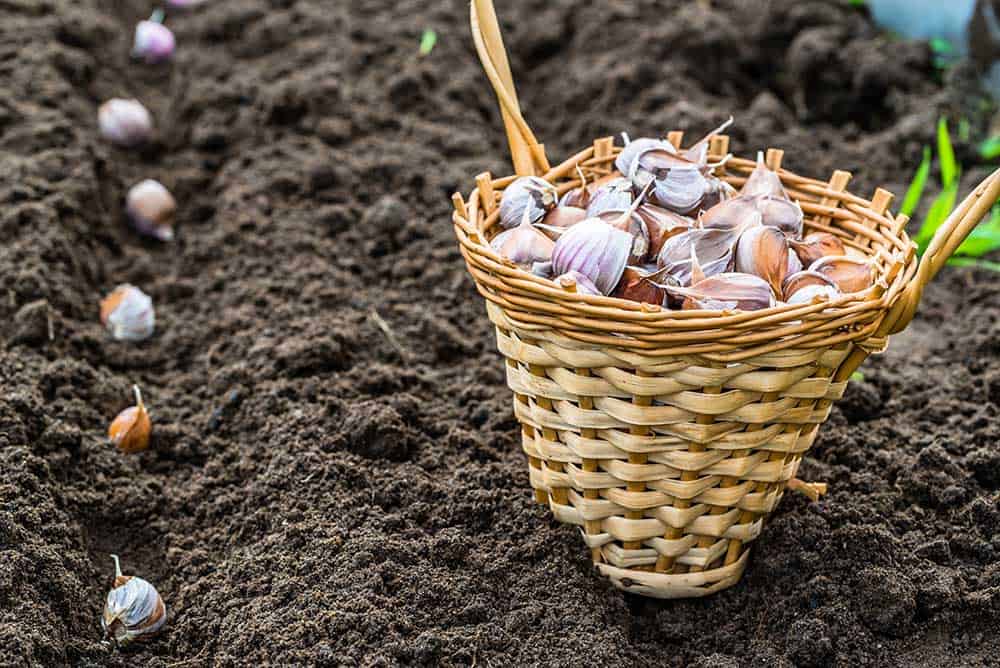
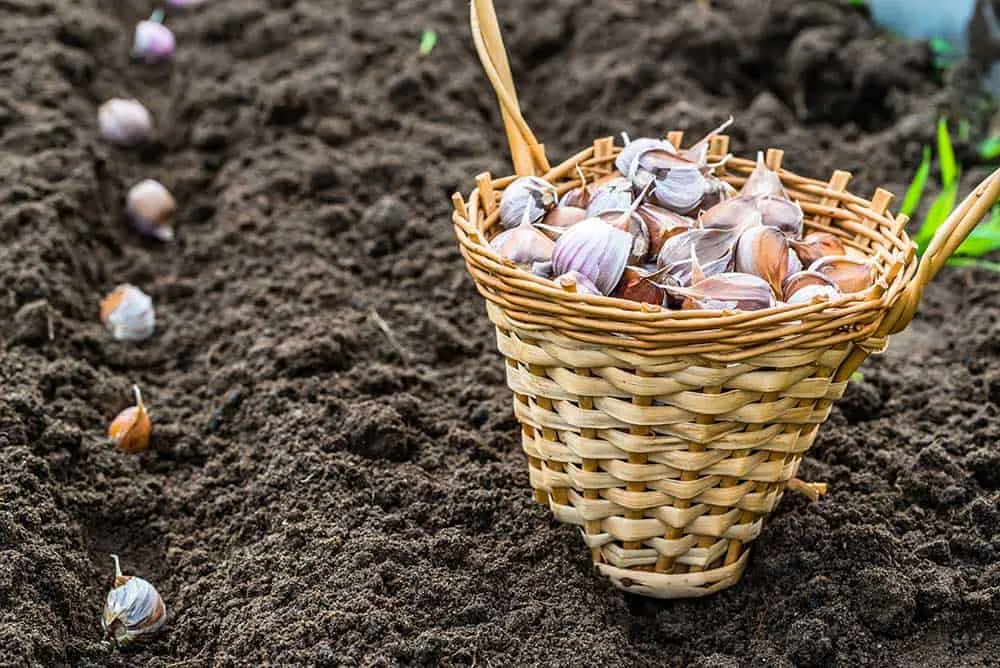
Preparing the bulbs/cloves
Once your soil is prepared, you’re ready to plant your cloves. Each of the individual cloves in a bulb of garlic will become a plant with its own bulb of cloves at harvest time.
Gently break apart your seed garlic bulb to separate the cloves. As you do so, leave as much of the skin on the cloves as you can. This will help protect them from rot and pests.
Set aside any cloves that are very small, squishy, or moldy. You want to plant only the healthiest and largest cloves.
Some gardeners soak garlic cloves in a solution of water and baking soda before planting to deter fungal diseases and pests. This is completely optional and can be something to try as you get a feel for growing garlic.
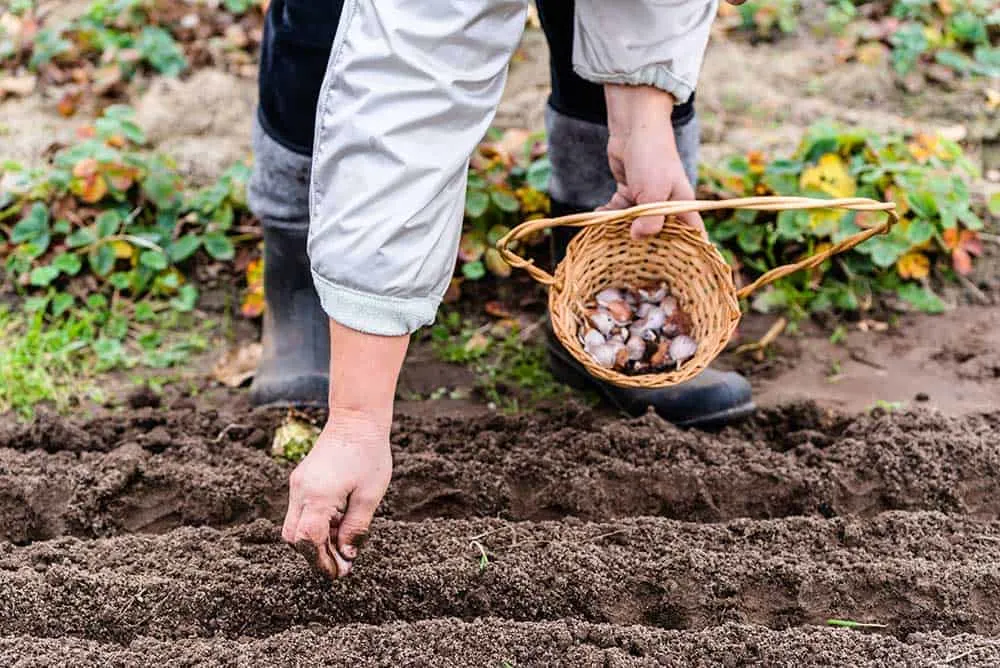
Planting the cloves
Dig individual holes for the cloves or make a trench for rows to bury garlic cloves 2-3 inches deep. Spacing will depend on your setup, but a good rule of thumb is to plant cloves and rows 6 inches apart.
The most important thing to remember when planting garlic cloves is to ensure the pointy end is up because that is where the leaves will grow. Roots will form from the flat end.
Once the cloves are placed, cover them with soil and gently pat it down.
Mulching
After planting the cloves, spread several inches of mulch over the growing bed to help keep weeds down and protect the bulbs over winter.
Mulch condenses as it decomposes, so don’t be afraid to pile it on nice and thick.
Straw is a great mulch option, and you can also use leaves and grass clippings that have not been recently treated with broadleaf herbicides.
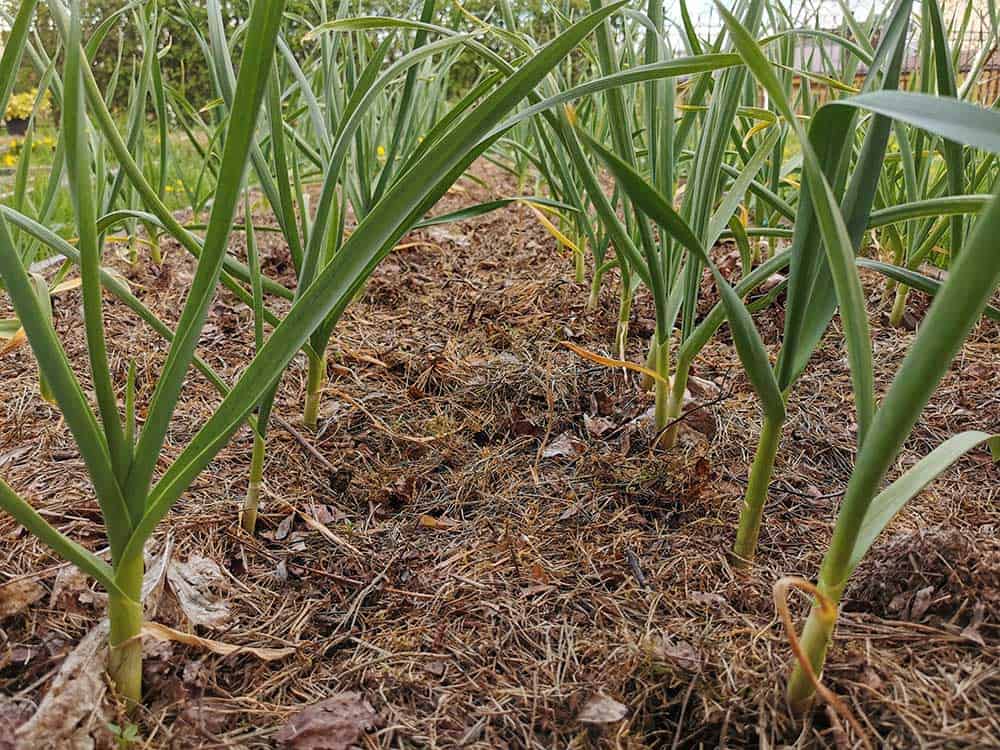
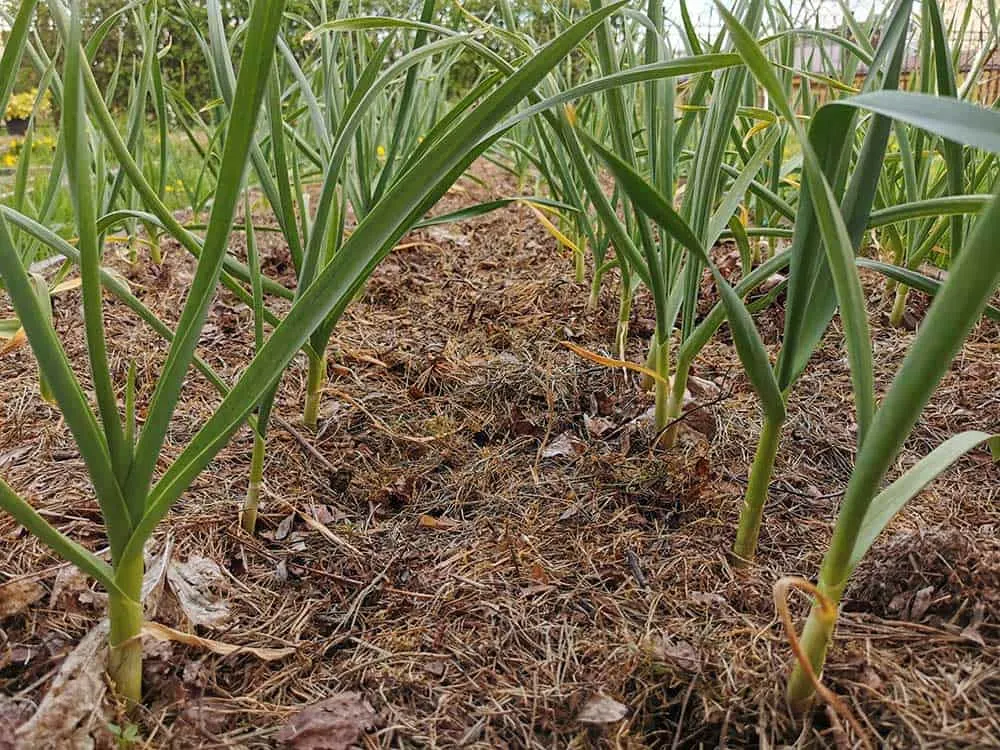
Keep garlic beds mulched to help retain moisture and cut down on weeds. Image: DRasa/Adobe
Caring for garlic plants
Your garlic may sprout leaves in the fall after planting, especially if the weather is unusually warm and the ground freezes later than normal. The leaves will die off as the weather gets colder.
You’ll start seeing signs of life from your fall-planted garlic in early spring when new green leaves appear through the mulch.
Add more mulch to the bed in spring and keep the area weeded well throughout the growing season. Feed the plants a high-quality fertilizer starting in early June and keep them well-watered in early summer while the plant is putting the most energy into bulb growth.
If you’ve planted hardneck garlic, you’ll start to see curly flower stalks appear in summer. These are called garlic scapes, and they should be cut off to encourage the plant to send energy to the growing bulb instead of the flowers.
The scapes are edible and delicious; use them as a garnish in any dish or to make pesto.
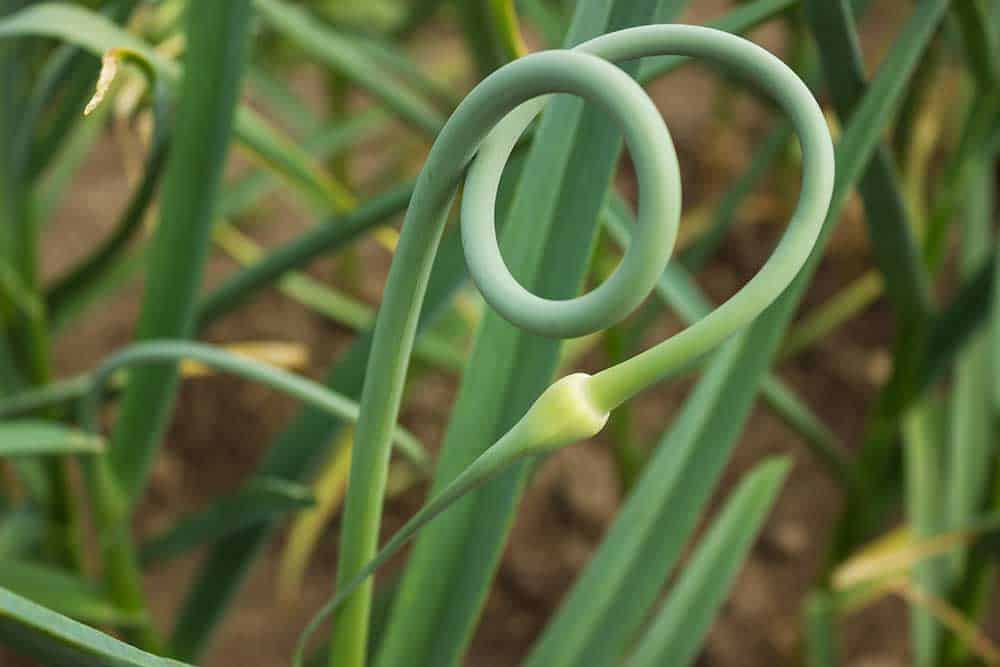
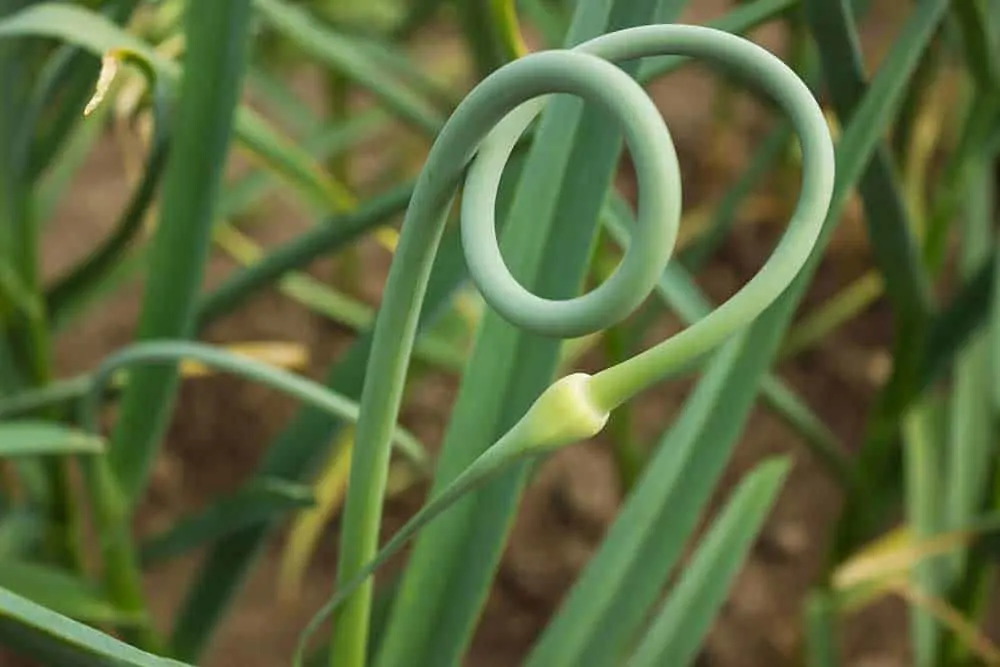
Garlic scapes are the flowering stems of hardneck garlic. Image: sever180/Adobe
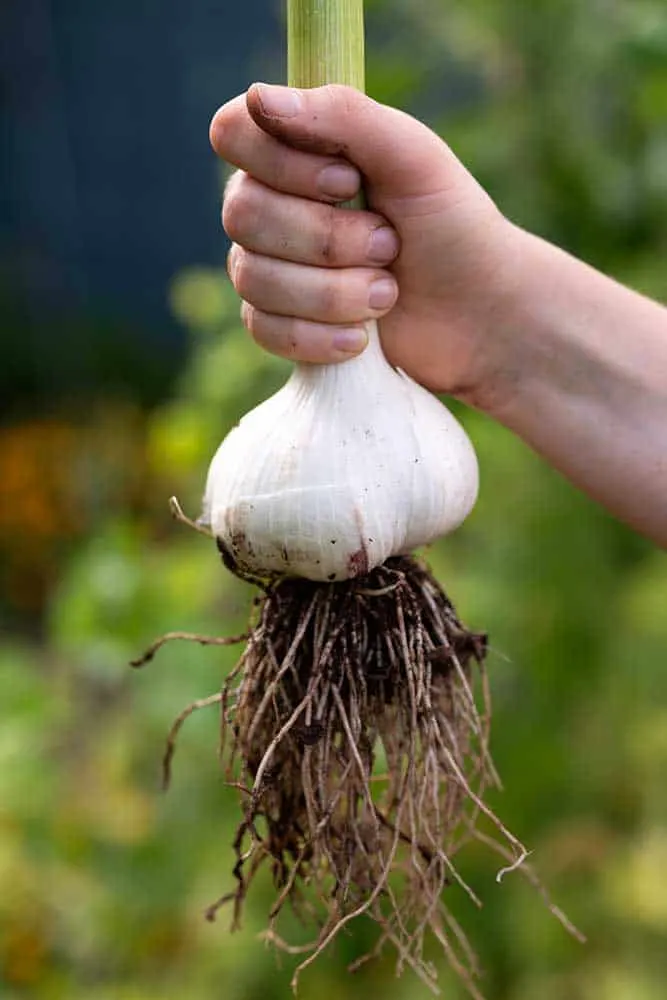
When to harvest
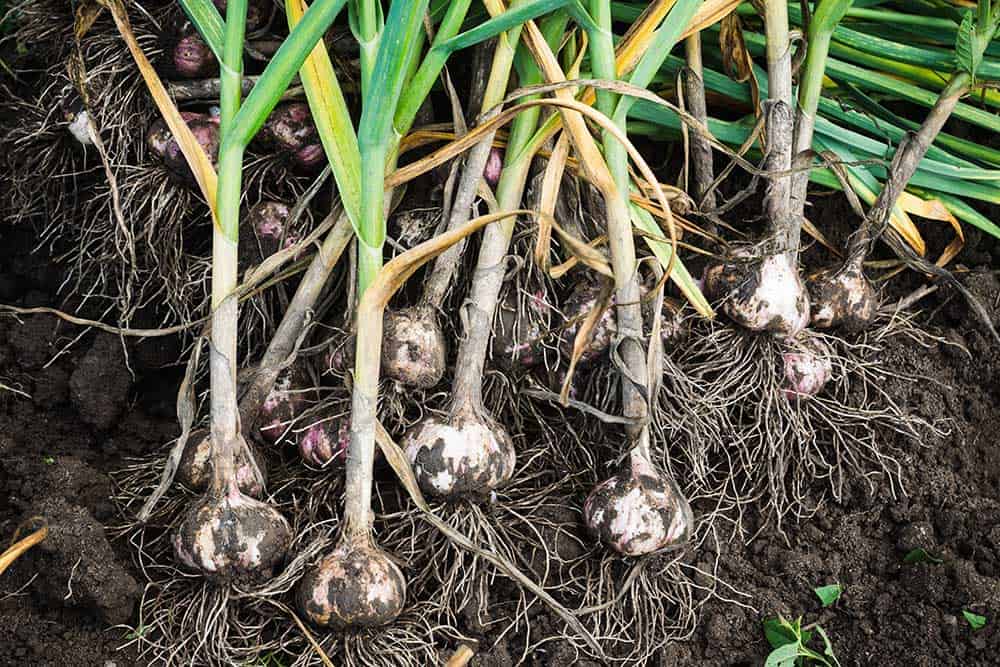
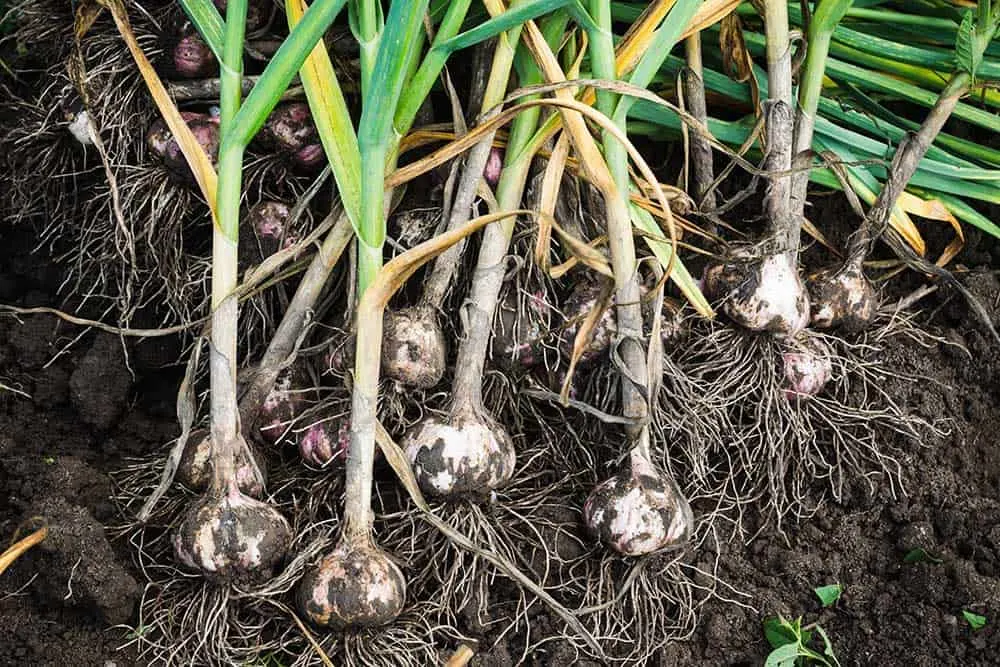
Once the leaves start to brown and die back in summer, garlic is ready to harvest. This happens in July in most areas but can vary from late June to early August.
Gently dig the bulbs up and brush off most of the dirt. It is tempting at this point to rinse the dirt off, but avoid getting the bulbs wet. Water can rot your garlic before it has time to cure.
Curing
Garlic requires a curing period of two to four weeks. Hang the garlic in bunches in a well-ventilated area out of the sun and rain.
Once all parts of the garlic are dry – leaves, roots, and wrapper – the leaves can be cut back to a couple of inches above the bulb for storing. The leaves of softneck garlic can be braided together for curing and long-term storage.


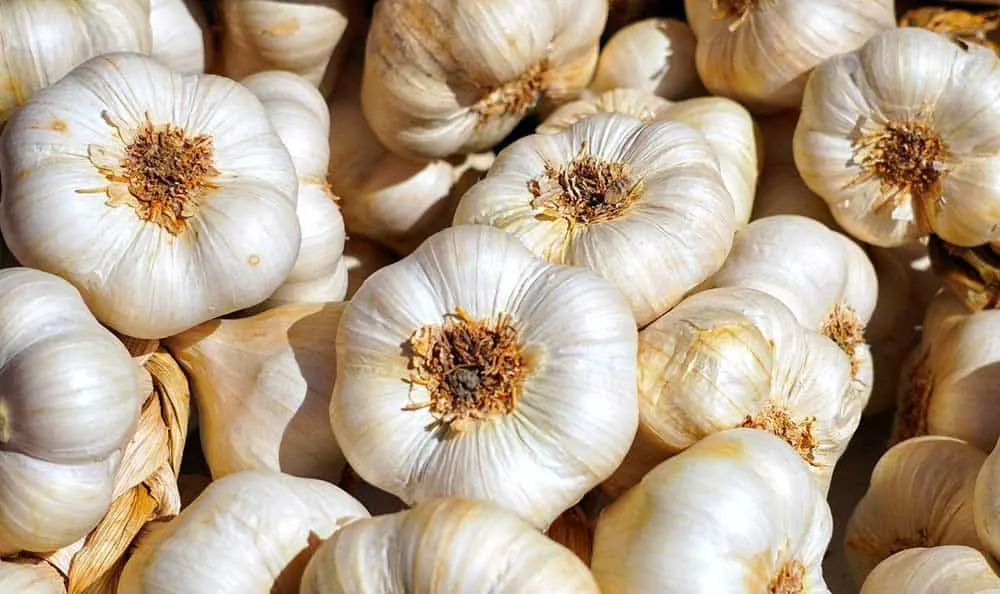
Storing
Store cured garlic in a cool, dry area. In optimal conditions, hardneck garlic will store for about 5 months and softneck for up to 9 months.
Keep on Growing
A fun part of growing garlic is saving your larger bulbs in late summer to use as your seed in the fall. This will give you a beautiful garlic crop in your home garden for years to come with minimal investment!